Site Location
Using a simple wizard:
Set the location of your PV plant site. Search by location name or latitude longitude coordinates. You can view the currently selected location in Google Maps or Bing Maps. The orange pushpin icon points to the current position of the site’s centre. Pan and zoom the map to find the site’s location then right-click and choose ‘Set the site location here’ from the popup menu to set the site’s location.
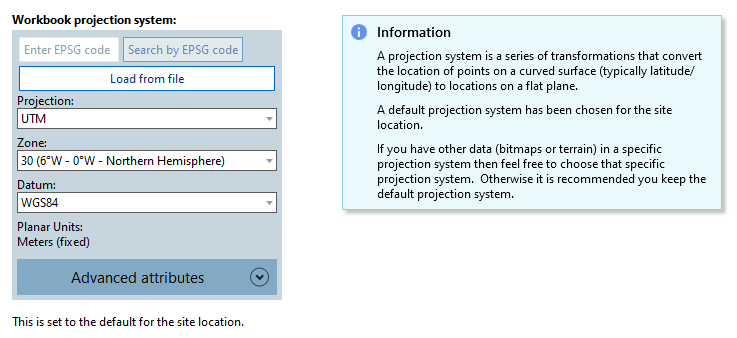
Select the workbook projection system. Use the default provided (UTM with WGS84 datum) unless you have some background imagery or terrain that is in a specific projection. If a non-default projection system is required it can be defined by EPSG code, loaded from a .prj file or selected manually from the available drop-down lists. Further advanced attributes can be manually adjusted if required.
Download some background imagery and terrain. Following the instructions – define a rectangle on the map which to download imagery (define the rectangle to be slightly bigger than the area of your site) and hit the ‘Start Download’ button.
The site’s time zone will be set automatically depending on the site’s location. Modify this manually if necessary. This is used in conjunction with the solar data that you will import shortly.
Once you have set the site’s location it will be shown as an orange marker on a static world map on the ‘Site location’ task page.
Site Elevation
If you wish to download/import terrain and use that in the workbook then carry on to the next task. If you wish to consider the site a plane (this can be useful sometimes if comparing against a flat PVsyst project) you can set the parameters in the ‘Site elevation’ panel.
Warning
Be careful, once you have started to lay out racks/trackers in a site layout you cannot change this ‘Site elevation’ property, so make the decision at the beginning.