Assigning Strings to Central Inverters
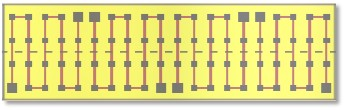
So far you have just added and positioned empty racks along the row positions. There are no actual strings of modules on the racks. This step is now done using the 'Assign strings within boundary to inverter' map tool (highlighted in red below):

A yellow popup menu will appear:

| Inverter Input | The central inverter input (as an inverter may have more than one input) you wish to create strings for. |
| String pattern | The string pattern -- one of:
|
| Span up to # racks | The strings can span across multiple racks. You can specify the maximum number of racks they can span here.
Set this to 1 if you don't want them to be able to span between racks. |
| Max span distance | If strings can span across multiple racks, this is the maximum physical distance between racks that spanning is allowed.
If the distance is greater than this value then the spanning won't occur. |

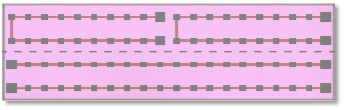
Now define a polygon in the map surrounding the racks that you wish to assign strings to. Strings and modules will be laid out on the racks using the string length defined for that inverter input (in the table in the Inverters tab in the lower pane). String colours on the map match the colour of the inverter instance they are connected with.
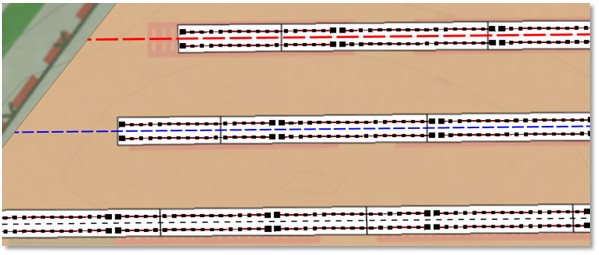
Zoom into the map to see the detail of the strings and modules:
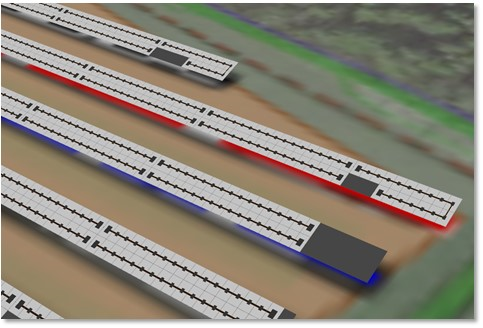
You can also see the string and module detail in 3D view:
Any grey regions of racks are spaces where strings of the defined string length could not exactly fit.